
The holiday season brings joy, warmth, and the tradition of decorating Christmas trees. A key step in this festive process is fluffing the tree to achieve a lush and visually appealing appearance. Whether you have a real or artificial tree, proper fluffing can make a significant difference in the overall aesthetic. In this guide, we'll walk you through the steps to ensure your Christmas tree is picture-perfect and ready to dazzle your guests.

Why Artificial Tree Fluffing Matters
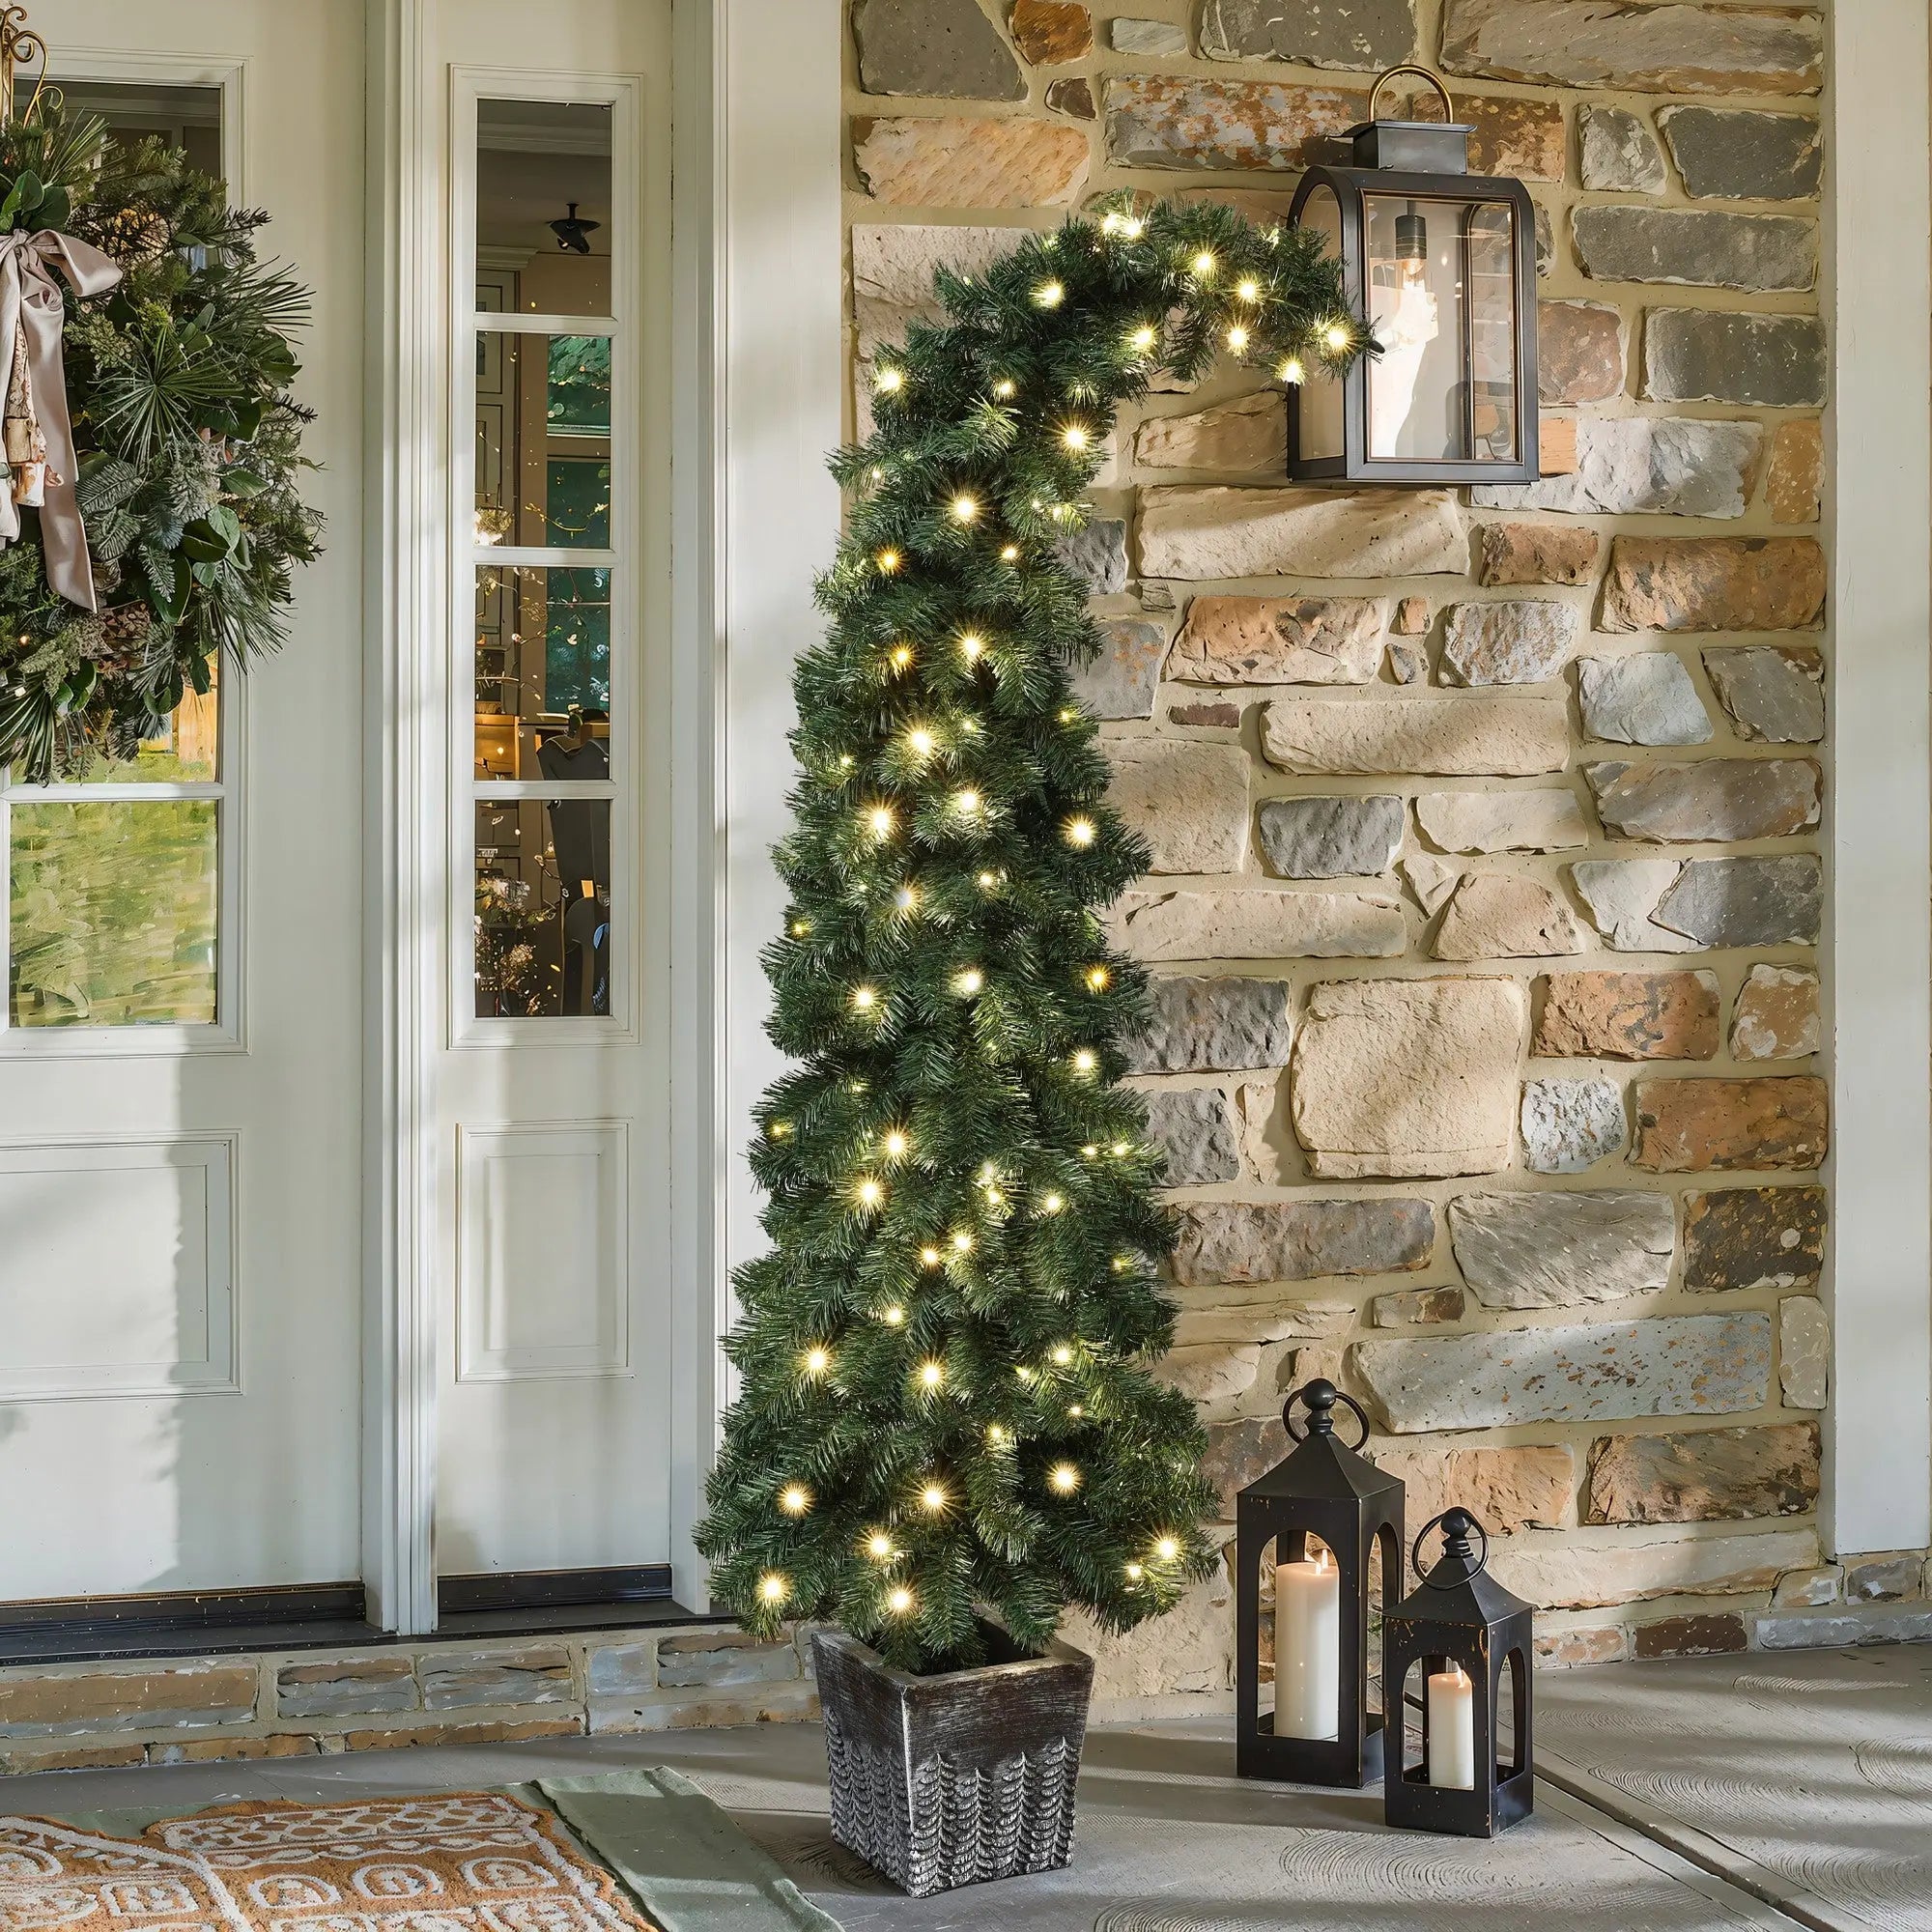
When you first take your artificial Christmas tree out of the box, it might appear flat, compressed, or even a little lifeless. That’s totally normal — it’s been packed tightly for storage. Proper Christmas tree fluffing is the secret to transforming that boxed fake tree into a lush, realistic centerpiece for your home.
Fluffing allows you to spread out all the branches, separate every single branch, and fill gaps to create a fuller appearance. By bending the tips upward and adjusting them in different directions, you shape the tree into a more natural silhouette. This process makes all the difference, helping your faux tree closely resemble a real tree — full, balanced, and ready for your favorite ornaments and decorations.
Taking time with this simple yet essential step sets the foundation for a beautifully decorated tree that brings warmth and magic to your holiday season.
Tools and Preparation for Fluff Artificial Christmas Tree
Before you begin fluffing your Christmas tree, it’s important to gather the right tools and set yourself up for success. A little preparation goes a long way in making the process smoother and more enjoyable.
-
Wear gloves to protect your hands from rough or sharp branch tips—especially if you're working with a faux tree or artificial tree with wired branches.
-
Use a step stool or step ladder to comfortably reach both the bottom section and the very top of the tree. This ensures you can fluff all the branches, including hard-to-reach spots, for a truly fuller appearance.
-
Make sure your tree stand is secure and stable before you begin. A wobbly base can make decorating and fluffing difficult, especially for a larger or pre lit tree.
-
Lay out your lights, ornaments, garlands, and other decorations nearby. Visualizing your end goal while fluffing helps you decide how to shape and spread the branches, and where to fill gaps to best display your décor.
Taking a few minutes to prepare ensures your Christmas tree fluffing experience is not only easier, but more fun and effective—setting the stage for a stunning holiday season display.
:max_bytes(150000):strip_icc()/how-to-fluff-a-christmas-tree-6735824-07-a8b3ebb015d9461098f3ea88ebab73be.jpg)
4-Step Guide to Properly Fluff Your Christmas Trees
Step 1: Unveiling the Splendor
1.1 Assemble with Care
Before diving into the fluffing process, ensure that your artificial tree is properly assembled following the manufacturer's instructions. A well-assembled tree sets the foundation for a stunning display.
1.2 Timing Matters
Fluff the branches before adding decorations. This strategic approach provides better access to the inner branches and ensures a more balanced and fuller look.
Step 2: Mastering Fluffing Techniques
2.1 Work from the Inside Out
Commence the fluffing journey from the inside, starting with the innermost branches. Gradually work your way outward to create layers, mimicking the appearance of a natural tree.
2.2 Separation Magic
Take each branch and delicately separate the individual tips. This simple act spreads the branches, adding volume and creating the illusion of a tree in its full glory.
2.3 Shape with Finesse
Gently bend the branches upward and outward to shape the tree. Be mindful of the materials; if your branches are wired, use a gentle touch to avoid damage.
2.4 Addressing Gaps
Pay close attention to any noticeable gaps or holes in the tree. Fluff the branches around these areas to seamlessly fill in empty spaces and maintain a uniform appearance.
Step 3: The Art of Assessment
3.1 Step Back and Reflect
As you fluff the branches, periodically step back and view the tree from different angles. This practice allows you to identify areas that may need additional attention and adjustments.
3.2 Fine-Tuning the Balance
Take the time to fine-tune the balance and symmetry of your tree. If you notice any unevenness or sparse areas, revisit those sections to achieve a harmonious overall look.
Step 4: Attention to Detail
4.1 Individual Branch Care
Tweak individual branches to perfection. Fine-tune their shape to create a natural and cohesive appearance, paying attention to every detail for a polished finish.
4.2 Top Section Finishing Touch
Don't neglect the top sections of the tree. Even though it may be smaller, ensuring the top is appropriately fluffed contributes to the tree's overall fullness and balance.
Additional Tips for a Flawless Tree
5.1 Gentle Handling
Be gentle with the branches, especially if they are made of delicate materials. Take your time to avoid any damage during the fluffing process.
5.2 Mirror Magic
Position a mirror behind the tree to see its reflection. This trick helps you identify any areas that might need more attention, ensuring a well-rounded and visually pleasing tree from all angles.
5.3 Rotate Strategically
Periodically rotate the tree as you work on it. This simple action allows you to maintain consistency and catch any areas that may have been overlooked.

Conclusion: Make sure Your Christmas tree fluffing!
Fluffing a Christmas tree is more than just a task, it’s an art that makes all the difference in setting the tone for your holiday décor. With each single branch you shape and every gap you fill, you’re bringing your artificial tree to life. Take your time, use patience, and don’t be afraid to take breaks and enjoy the process—this is part of the fun of the holiday season.
Whether you're working with a pre lit tree, a faux tree, or a classic fake tree, the effort you put into fluffing creates a stunning, realistic centerpiece that your family will gather around all season long. So grab your gloves, adjust those branches in opposite directions, and take pride in crafting a lush, beautifully shaped Christmas tree that brings joy to your home.
Wishing you a festive season that’s merry, bright, and full of magic!
FAQs
Q1: How long does it take to fluff an artificial Christmas tree?
A: It depends on the size of your tree, but generally, fluffing can take anywhere from 30 minutes to an hour. Taking your time ensures a fuller, more natural look.
Q2: Should I fluff my pre lit tree before or after putting it in the stand?
A: It’s best to place your tree in the tree stand first to stabilize it. Then fluff the branches from bottom to top. This helps maintain balance while you work.
Q3: Can fluffing make a fake tree look more realistic?
A: Absolutely! Proper fluffing spreads the branches in different directions, bends the tips upward, and fills gaps, all of which create a more natural and lush appearance that closely mimics a real tree.
Leave a comment